 Kia Optima: Removal
| 1. |
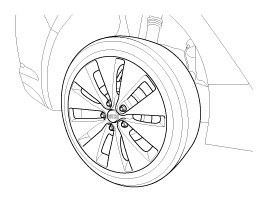
Remove the rear wheel & tire.
Tightening torque:88.3
~ 107.9N.m(9.0 ~ 11.0kgf.m, 65.1 ~ 79.6lb-ft)
|
|
Be careful not to damage the hub bolts when removing the rear wheel
& tire. |
|
| 2. |
Set up the transmission jack
(A) under the lower arm (B).

|
| 3. |
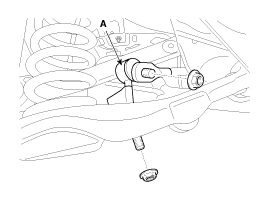
Loosen the nut and then remove
the rear stabilizer link (A) from the lower arm and subframe.
Tightening torque:98.1
~ 117.7N.m (10.0 ~ 12.0kgf.m, 72.3 ~ 86.8lb-ft)
|
|
| 4. |
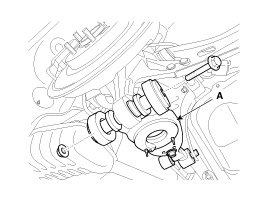
Loosen the bolt & nut and then
remove the rear lower arm (A) with the rear axle.
Tightening torque:137.3~156.9N.m(14.0~16.0Kgf.m,
101.3~115.7lb-ft)
|
| ŌĆó
|
When removing
the bolt, remove the upper arm in no-load condition by using
the transmission jack. |
|
|
| 5. |
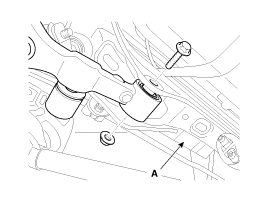
Loosen the bolt & nut and then
remove the rear lower arm (A) from the sub frame.
Tightening torque:107.9~117.7N.m(11.0~12.0Kgf.m,
79.6~86.8lb-ft)
|
| ŌĆó
|
When removing
the bolt, remove the lower arm in no-load condition by using
the transmission jack. |
|
|
1.
Check the bushing for wear and
deterioration.
2.
Check the rear lower arm for
deformation.
3.
Check the coil spring and spring
pad for deterior ...

 Inspection