 Kia Optima: Removal and Installation
|
1. |
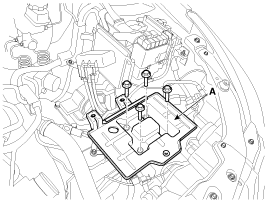
Disconnect the terminals from the battery.
Tightening torque
:(+) terminal (A) : 7.8 ~ 9.8N.m (0.8 ~ 1.0kgf.m,
5.8 ~ 7.2lb-ft)
(-) terminal (B) : 4.0 ~ 6.0N.m (0.4 ~ 0.6kgf.m,
3.0 ~ 4.4lb-ft)
|
|
|
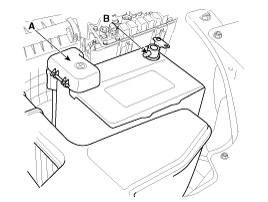
2. |
Remove the battery insulation pad (A). |
|
3. |
Remove the battery mounting bracket (B) by loosening
the mounting bolt and then remove the battery (C).
Tightening torque
:9.8 ~ 11.8N.m (1.0 ~ 1.2kgf.m, 7.2 ~ 8.7lb-ft)
|

|
|
4. |
Remove the battery tray (A).
Tightening torque
:9.8 ~ 11.8N.m (1.0 ~ 1.2kgf.m, 7.2 ~ 8.7lb-ft)
|
|
|
5. |
Installation is the reverse order of removal.
|
When installing the battery, fix the mounting
bracket on the tray correctly. |
|
Battery Diagnostic Flow
Vehicle parasitic current inspection
1.
Turn the all electric devices OFF, and then turn
the ignition switch OFF.
2.
Close ...
See also:
Component Location
...
Inspection
1.
Turn ignition switch OFF.
2.
Disconnect the oil temperature
sensor connector.
3.
Measure resistance between sensor
signal terminal and sensor g ...
Inspection
1.
Turn the ignition switch OFF.
2.
Remove the ECTS (Refer to "Removal").
3.
After immersing the thermistor of the sensor into
engi ...

 Inspection